How to create a Small Lab at home with a Raspberry Pi to execute Malware
What you need
A computer with internet connection using wifi.
A raspberry Pi with power supply.
A network cable
A README.md file where you will put all the times and actions done. This is the most important part of the research. No documentation, no experiment.
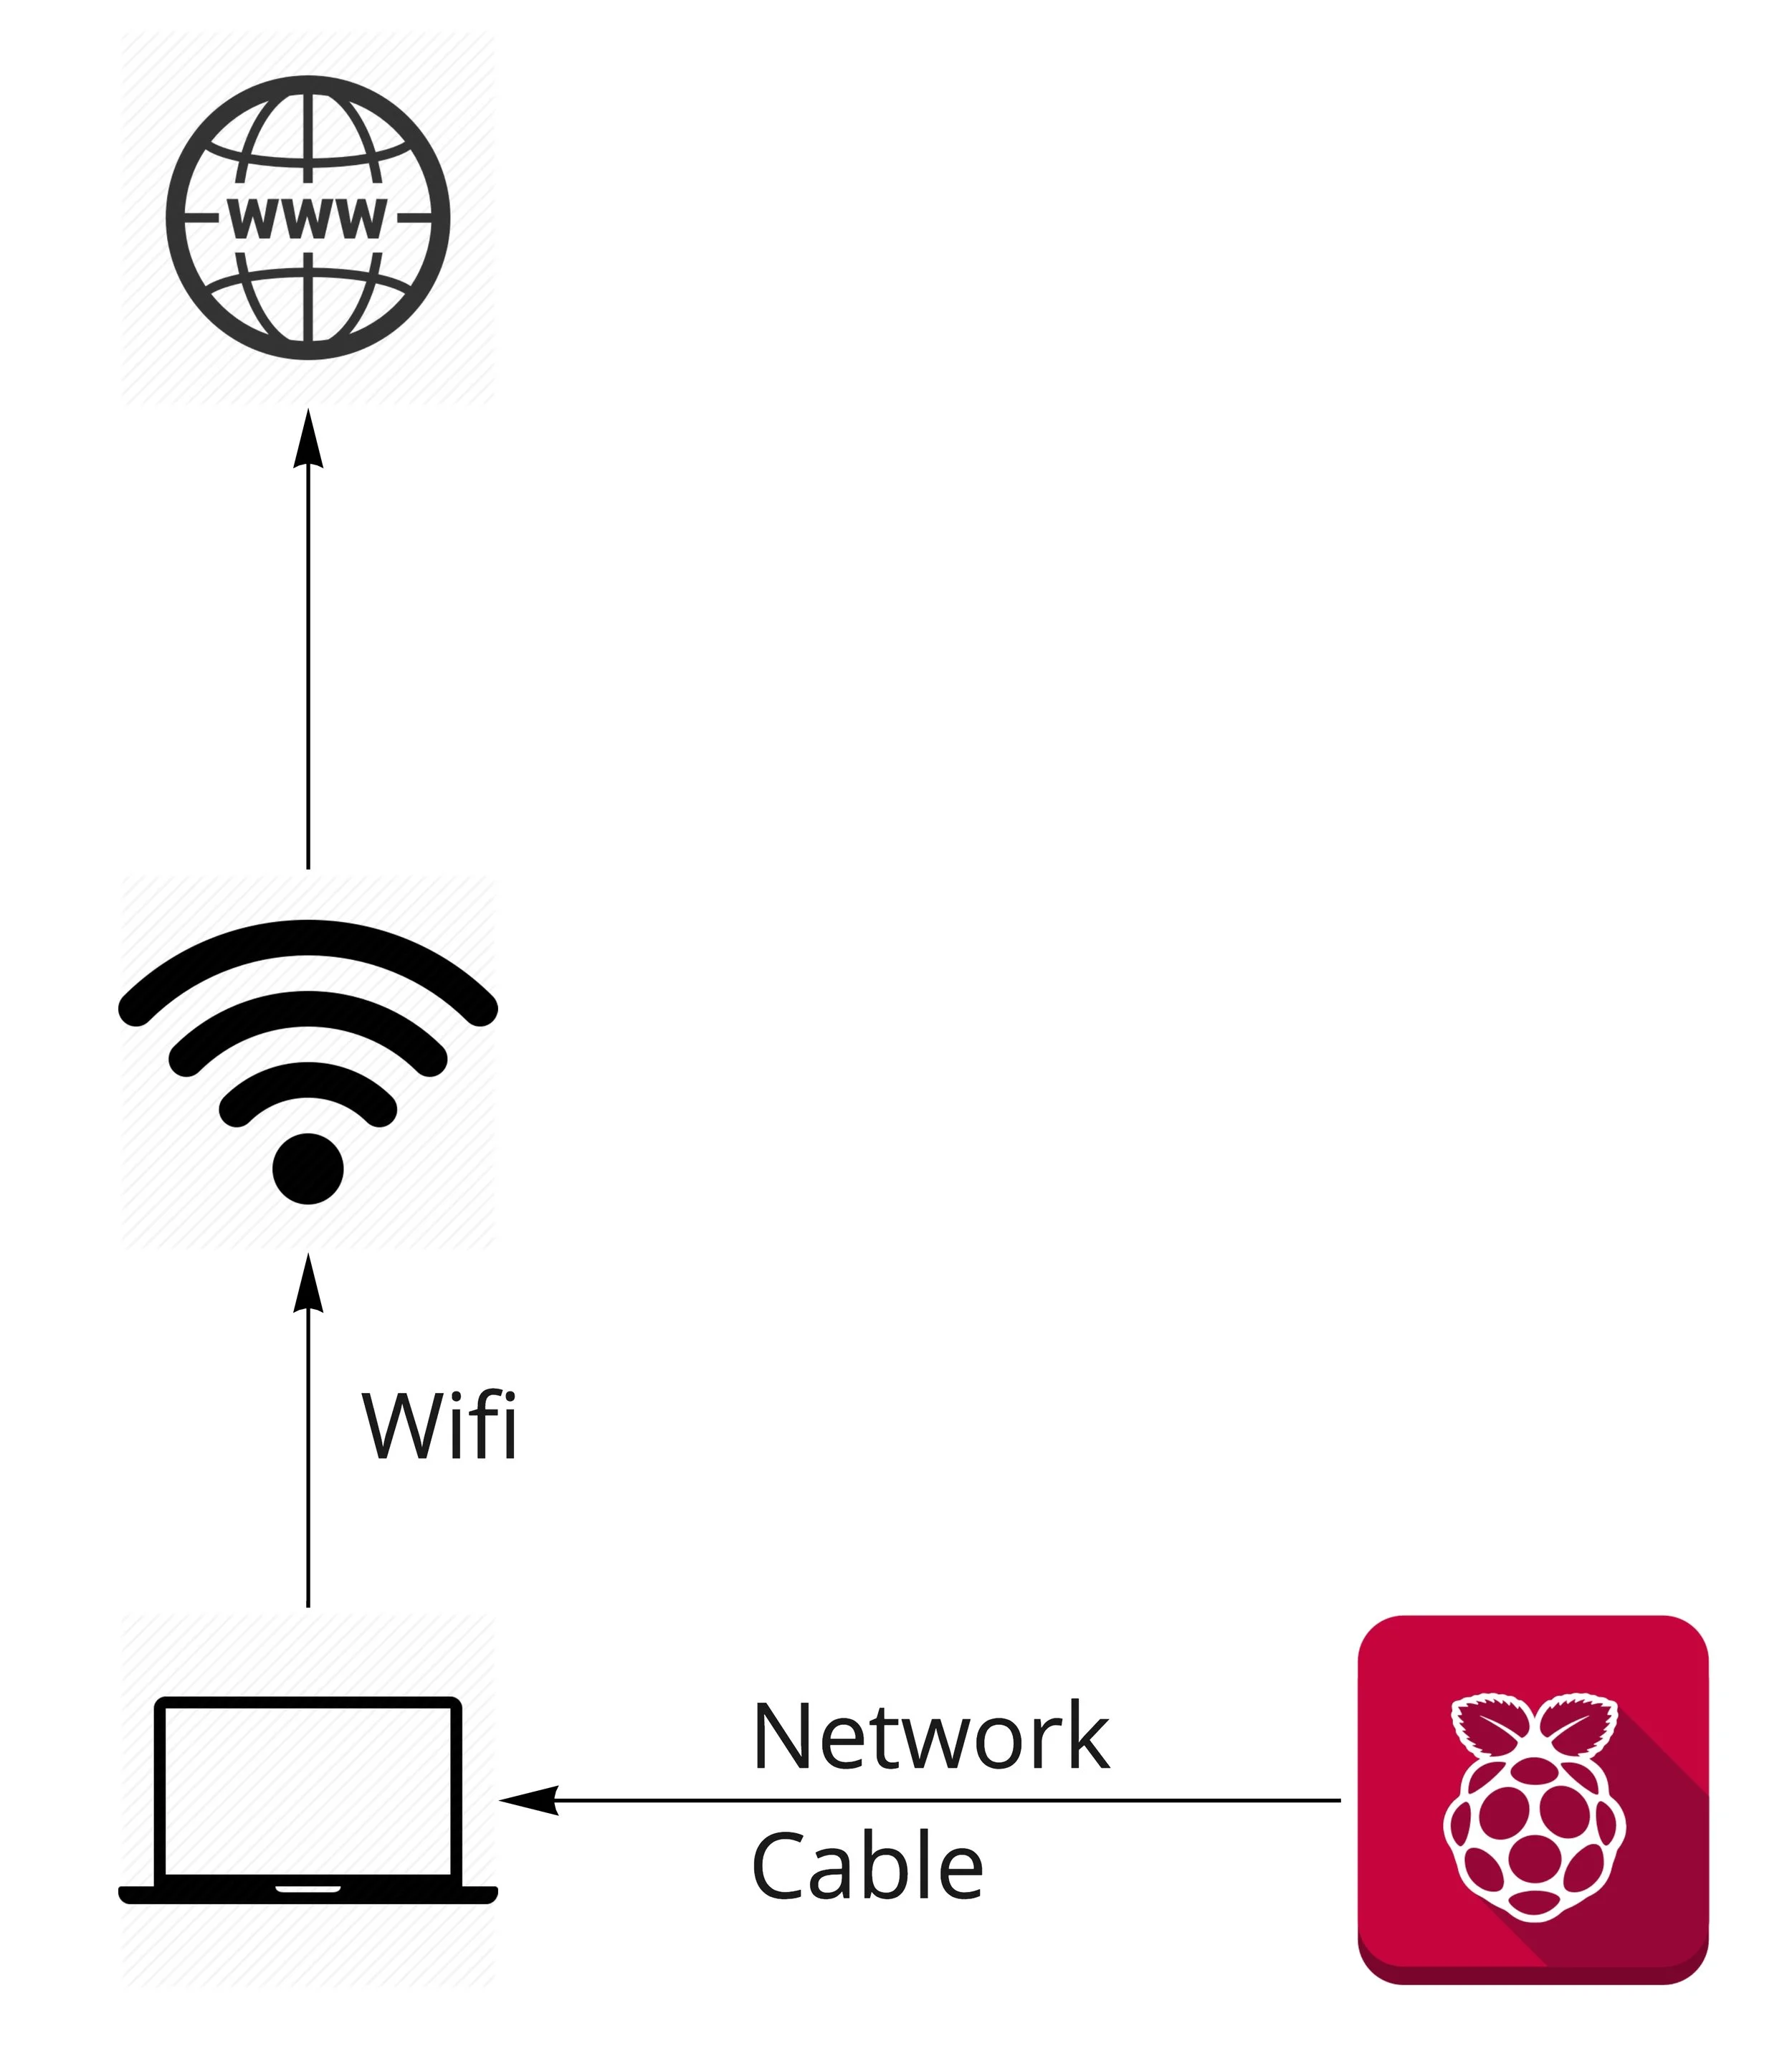
Topology of Connections
Setup
You computer should have WiFi and Internet in the WiFi interface (lets call it wlan0).
Connect the Rpi to your computer ethernet port.
Install and setup a dhcp server
On Linux
apt-get install dhcpcd
On Mac
sudo port install dhcpcd
Or use the internal configuration of the Mac. Settings->Network->
Configure the dhcpcd conf file as this
option domain-name "example.org";
option domain-name-servers 8.8.8.8, 8.8.4.4;
default-lease-time 600;
max-lease-time 7200;
log-facility local7;
subnet 192.168.2.0 netmask 255.255.255.0 {
range 192.168.2.10 192.168.2.20;
option routers 192.168.2.1;
}
The important part is on the IP range 19.168.2.0/24. This will make dhcpcd choose which interface to use in the system. And since we will put the IP 192.168.2.1 to eth0, it will use eth0.
Setup the interface where the rpi is connected
sudo ifconfig eth0 192.168.2.1
Run the dhcpcd
sudo dhcpd -f -cf /opt/local/etc/dhcp/dhcpd.conf
Start the Raspberry pi [Add event with time to your README]
Check with tcpdump that you can see traffic in the eth0 interface
sudo tcpdump -n -s0 -i eth0
Find the IP address of the rpi
You can usually see the traffic and find the IP the raspberry got.
Or you can try by hand the range 192.168.2.10 to 192.168.2.20
Or you can nmap the range.
Or you can see the log of the dhcpcd
We will consider from now on, as an example, that the rpi has the IP 192.168.2.15
Connect to the Rpi with ssh [Add event with time to your README]
ping 192.168.2.15
ssh -v pi@192.168.2.15
Usually the password is raspberry
Give internet to the raspberry pi
In Mac
Settings->Sharing->Share internet with ethernet
Just choose in your interface ‘Thunderbold’ or ‘ethernet’ to give internet, and thats it.
In Linux (Considering that your computer is not managing the iptables.)
First allow your computer to move packets between interfaces (ability)
echo 1 > /proc/sys/net/ipv4/ip_forward
Allow the packets to get forwarded between interfaces (authorization). This may be already there, but in any case...
iptables -A FORWARD -j ACCEPT
Change the IP addresses of packets leaving your computer to the internet (wlan0 should be your WIFI interface with internet)
iptables -t nat -A POSTROUTING -o wlan0 -j MASQUERADE
Check that the rpi has internet.
From the raspberrypi
ping www.google.com
Copy the malware to the rpi [Add event with time to your README]
scp malware.exe pi@192.168.2.15:/tmp
Capture the traffic in the ethernet cable to check that everything works (see that we start the capture here. After the copy and before the start of the malware) [Add event with time to your README]
sudo tcpdump -n -s0 -i eth0 -v -w capture1.pcap
Monitor the traffic
sudo tcpdump -n -s0 -i eth0 -A
(In another console) tail -f capture1.pcap |strings -n 10
Execute the malware [Add event with time to your README]
chmod 777 /tmp/malware.exe
/tmp/malware.exe
What about linux on VM?
This should be the same if the linux in the VM has a bridged connection and the ethernet connection is connected to the VM.


